Thanks for stopping by! We're two cousins who love to craft on the cheap and share our ideas. We'd love for you to stay awhile, pull up your Pin it! button, sewing machine, and let us know what you think!

Saturday, September 29, 2012

What I Wore Sunday: Week 35

Guess what Jingus, Crocky, and The Hubsters are doing today?

They’re flying in a biplane to pass off a Boy Scout Merit Badge.  I’m trying not to think about it, and I’m praying they make it back safely.  Goodness.  It makes me nervous.  Not them, though.  They were all just so excited to go!

Boys.  pssshhht…  ;)

frame to match teal and white

…52 weeks of shaking up the wardrobe…

The Rules:

  1. Wear a different outfit every Sunday.

  2. Incorporate at least one article of clothing or accessory that was either refashioned, sewn myself, or handmade.

  3. Outfits can be worn more than once; just not the same way.

  4. Think outside the box and be creative!

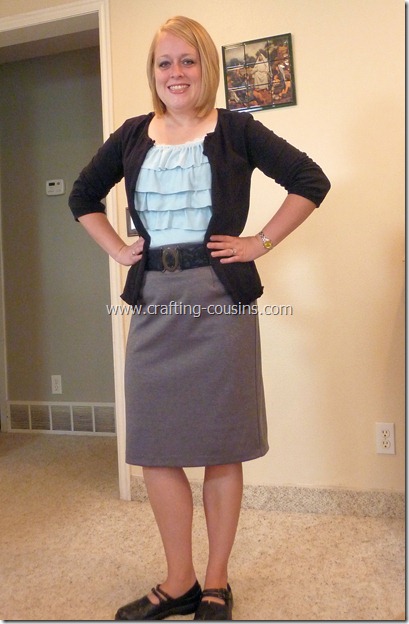
This is what I wore Sunday:

week 36

I am wearing my ruffle tank (made from a nightgown), my lettuce edge cardigan (tutorial coming soon), and my pencil skirt from Wal-Mart.  I love that skirt!  :)

Alrighty.  Let’s have a feature post, shall we?

Oh do, lets!

This feature post will be from the last three link parties we’ve had.  Thanks a bunch to everyone who linked up.  You all have such fantastic ideas.  Thanks for the inspiration!

First up is this sweet little Rapunzel dress from Alison of Heavenly Handmades.

Rapunzel

I just love all the details she put into the dress.  She has a fabulous tutorial for the dress--just in time for Halloween!

Mira from Sewing The Littleheart Collection shows us how to do pin-tucks, pleats, and smocking all in the same outfit.

Fab Folds Challenge_Main

Seriously.  How cute is that outfit?  I love everything about it.  Thanks for the fabulous tutorial, Mira!  :)

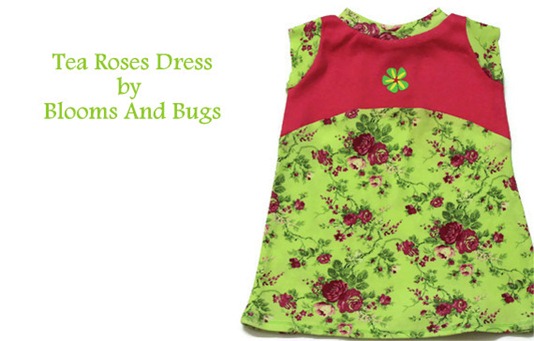
Next up is this cute little Tea Roses Dress from Blooms and Bugs.

FD25BC20-DBD7-11E1-9567-E3FB0C2C1129

Aren’t those colors just so yummy?  It is just perfect for a sweet little baby!  Love it!

Gate No.4 shows us how to make a sleeveless dress modest.  Let’s face it.  Not all of us want to (or even should) show off all that skin. 

DSC01145

I just love how she added sleeves but didn’t take away from the beauty of the dress.  The next time I need to add sleeves to a formal, I am going to do it this way.  The last one I added sleeves to was very similar to the Garden Wedding Flower Girl Dress I made.  Gate No.4’s method covers more of the back.  I love that. 

Finally, be sure to check out these fun infinity scarves--just in time for fall. 

DSC05248

This one is from Julie of Love It Sew Much.  I just love that fabric. 

scarfwithjacket

How about this checkered one from Gingerly Made?  Isn’t that fun?  I love both of these scarves and can’t wait to make a few of my own.

Thanks so much to everyone who participated!  Well, keep those sewing machines out and whip up something for this week’s party!  :)

frame to match teal and white

Link up to anything you have refashioned or sewn yourself.  It doesn’t have to be dressy, and it doesn’t have to be worn on a Sunday.  It doesn’t even have to be worn by you.  Show it off!

  • No links to shops or giveaways, please.

  • Link back to Crafty Cousins on your blog too, okay?!

  • Bonus points for following Crafty Cousins or liking us on Facebook!  :)

  • Tell your friends about the What I Wore Sunday Link Party.  What’s a party without lots of partiers?

Can’t wait to see what you’ve got!  :)

signature nat

Pin It!

Friday, September 28, 2012

DIY Face Mask

First off, sorry I’m not doing the top  this week. I wanted to do this post instead. Second, my hubby finally got his birthday present this week. I preordered this off Amazon and gave him the receipt for his birthday. It’s finally here! It’s actually ridiculous price right now. It’s the same cost for the 4 disc combo pack as it is for the 2 disc combo. I mean, duh, right? Anyway, we’re excited to watch that again.
IMG_2066[1]
Now, for my super quick project…. Have you had a morning where you have places you HAVE to go, and your kid decides to develop a little cough during the night? I’m not talking contagious or anything, just an irritant. Well, that happened this week. So I decided to hurry and make up project. If I had these on hand, I wouldn’t have needed to

Anyway, I whipped these up super quick, and the girls liked them, so I thought I’d share them.
DIY Mask (1)
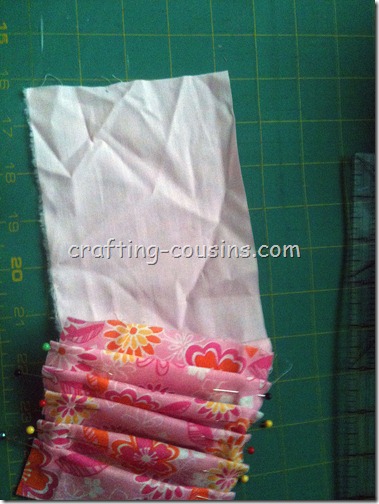
For the outside of the pink one, it measures  4 1/2'”x 10”, and the inside layer measures 4 1/2” x 7”. I cut those out. I did 2 layers since I figure it will catch more crap that way. I don’t know if the disposable ones are or not, but it made sense to me.
DIY Mask (4)
And pleated them both to be about 4 1/2” tall, then it can cover more if needed,
DIY Mask (5)
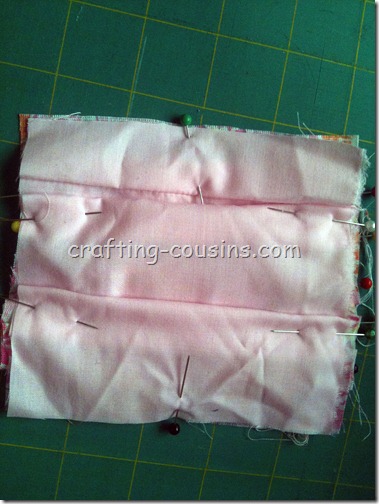
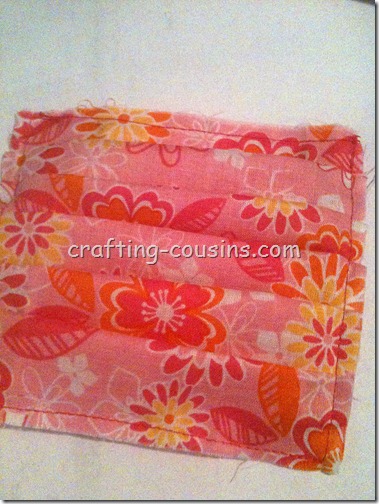
And then pinned them together, sewed them…
DIY Mask (6)
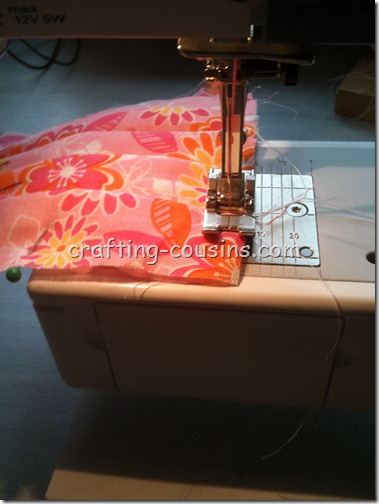
Close to the edge, you can see I used the inside of my presser foot to stitch around.
DIY Mask (7)
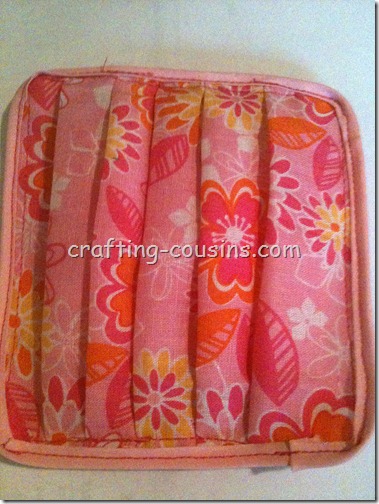
And then decided to finish off the edges using bias tape.
DIY Mask (8)
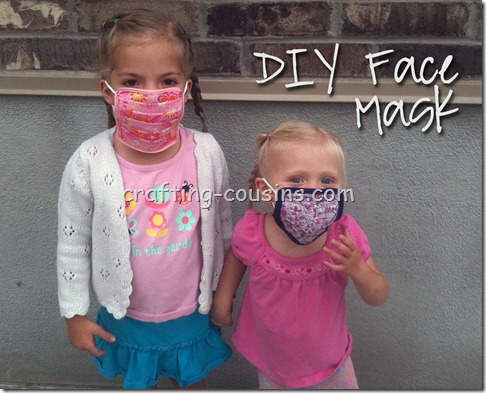
Unfortunately, I only had single fold bias tape, so it wasn’t very wide and kinda tricky to get it on there just right. But, it works! Then, I cut 2 pieces of 7” elastic and sewed it on the sides (about 1/2”-3/4” from the edges) for the ear loops. As soon as Thing 1 put hers on, Thing 2 wanted to wear one. So I made another one, and for the little one, the measurements were 4 1/2” x 8”, and then 4 1/2” x 5” on the inside. I had wide single fold bias tape for this one, and it was TONS easier. I did the same 7” piece of elastic there, and then they both were wearing them all over. They loved them! I figure it’s a little more green since you’re not throwing away disposable ones, it’s definitely cuter, and they’re washable!
DIY Mask (9) copy
Aren’t they so cute!? The girls, not the masks…. If you don’t think it’s a hygienic solution, that’s fine. It worked for a pinch with us, and I made them in the time it took them to eat breakfast (we all know that can take hours…)!
If you’re making them bigger, I just measured above the nose to the chin to get the 4 1/2” tall, and then just made sure mouths and noses were covered for the width.
What do you think? Should I have just left well enough alone? Would you use something like this? Have a great weekend!
Pin It!

Thursday, September 27, 2012

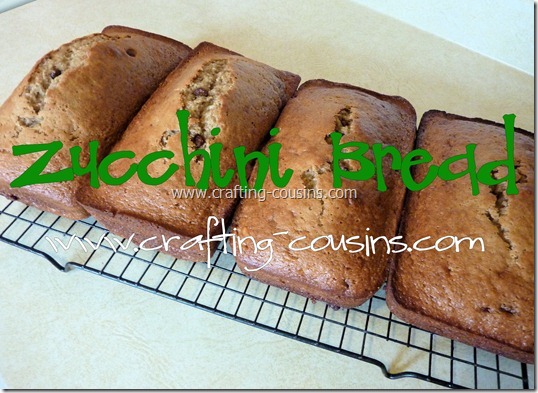
Zucchini Bread

I know there are a million recipes for zucchini bread out there, but this one is our favorite.  I’ve adapted it from one my family really loves, and I made it low fat, and lower sugar so that it’s perfect for a healthy breakfast.
Zucchini bread- This recipe is low fat, low sugar, and really yummy
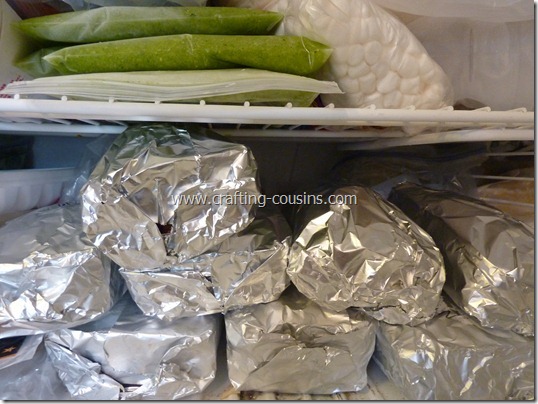
This a great recipe to use up all those zucchinis from the garden, since it makes five loaves.  I make this recipe several times a week, wrap the loaves in foil, and pop them in the freezer. 
They make a perfect breakfast for a busy school morning.  Just pull it out of the freezer the night before so it has time to thaw.  Serve it with eggs, applesauce, or whatever else you want.
You could also cook them in muffin tins; just shorten your baking time.  If you freeze the muffins, you can just pull whatever you need out of the freezer the night before.
Ready for the recipe?
Zucchini Bread  *makes 5 loaves
Prep Time: 15 minutes  Oven: 350 degrees  Bake: 55 minutes
Dry Ingredients:
  • 7 1/2 cups flour
  • 5 teaspoons cinnamon
  • 2 1/2 teaspoons baking soda
  • 1 1/4 teaspoons baking powder
  • 1 1/4 teaspoons salt
  • 1 1/4 teaspoons nutmeg
Wet Ingredients:
  • 4 cups sugar
  • 5 cups peeled, pureed zucchini
  • 1 1/4 cups unsweetened applesauce
  • 5 eggs
Additional Ingredient:
  • 1 bag chocolate chips
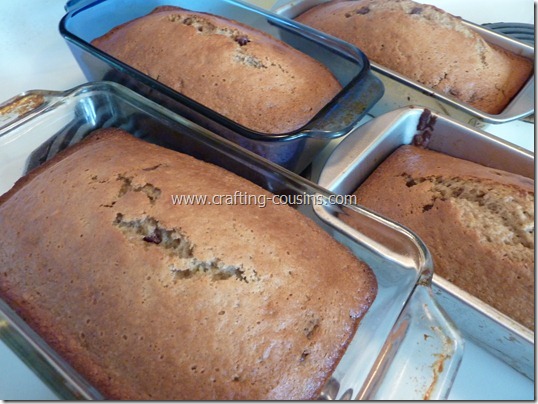
Preheat oven to 350 degrees.  Grease 5 bread pans.  Combine dry ingredients.  In a separate bowl, combine wet ingredients and mix well.  Pour wet mixture into the dry ingredients and mix well.  Stir in the chocolate chips.  Divide the batter evenly between the bread pans.  Bake for 55 minutes or until done.  If the edges cook too quickly, cover the pan(s) with foil.
Zucchini bread- This recipe is low fat, low sugar, and really yummy! (5)
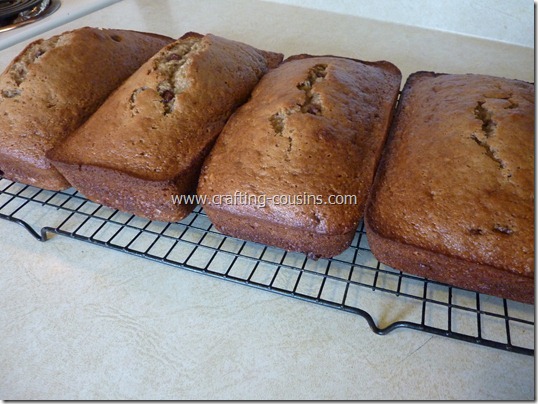
Let the loaves cool in the pans for about 10 minutes.  Remove from the pans.
Zucchini bread- This recipe is low fat, low sugar, and really yummy! (9)
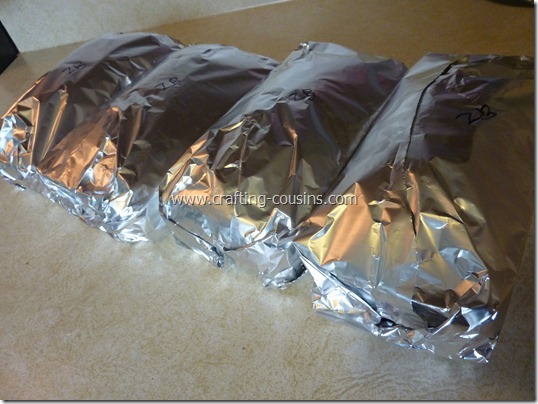
Wrap the loaves in foil while they’re still warm.  This makes them easier to cut.
Zucchini bread- This recipe is low fat, low sugar, and really yummy! (11)
Yes, I realize there are just four loaves.  I didn’t have enough zucchini for five, so I just tweaked the recipe a tad.
When the foil wrapped loaves are completely cooled, put them in the freezer.
Zucchini bread- This recipe is low fat, low sugar, and really yummy! (13)
These will last several months, so don’t feel rushed to eat them all.  I currently have about 36 loaves in my deep freezer. 
signature nat
Pin It!

Wednesday, September 26, 2012

It’s Fall!

Hooray! I’m finally posting this picture because I want to start decorating for Halloween, so I figured I’d show you what I had out for Fall.

Fall Mantle (2)

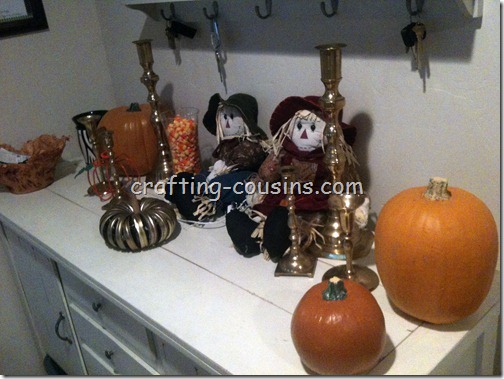
Our rental has this buffet type thing in the family room, with some hooks above it, that I decided will serve as my “mantle”. I can decorate it for holidays. So here’s the first real holiday I decorated it for.

Fall Mantle (1)

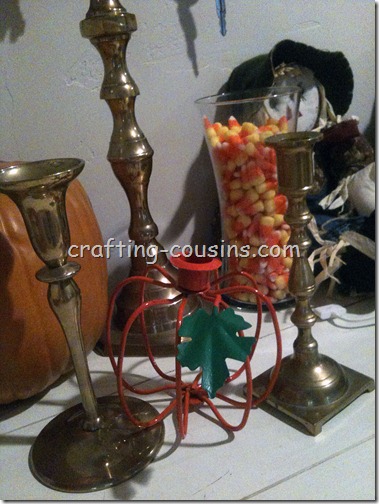
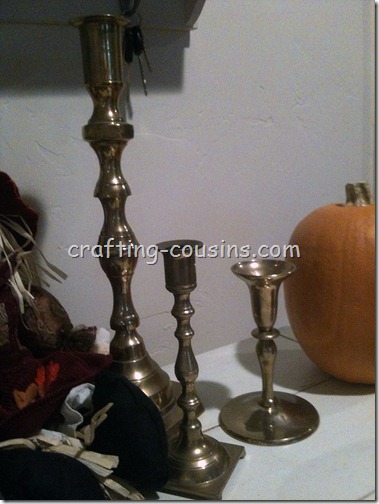
Bronze candlesticks gathered over the past year from the thrift store, as well as a wire candle holder that looks like a pumpkin.

Fall Mantle (4)

The scarecrows are something my mom gave me when I was first married, and they are really cutesy, but they’re fine for Fall.

Fall Mantle (5)

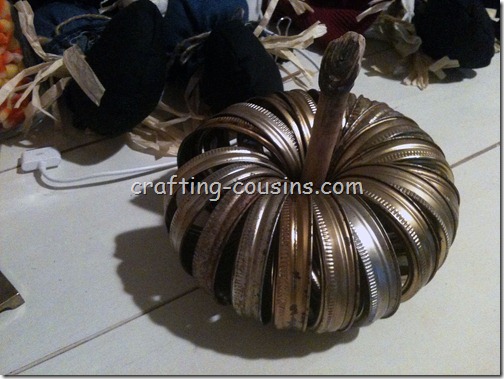
This is a pumpkin I’m kind of in love with. I inherited more canning lids than is right, and a lot are way to rusty to use for canning anymore, so I made a canning jar lid pumpkin that I saw on the CSI Project. I used a stick from outside for the stem. Love!!

Fall Mantle (3)

Pumpkins are ones I’ve gathered through the years in the after Halloween sales. The bowl on the far left is the one I made here. So it’s fun, but I think my Halloween one will kick its butt. Now, for the other big holiday decoration we’ve had out all month:

Fall Tree (2)

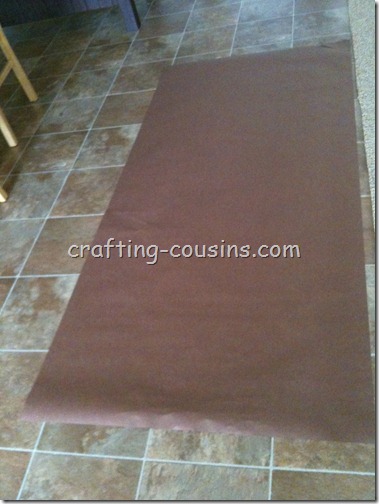
It started out as a $1 worth of brown butcher paper, or 2 yards.

Fall Tree (3)

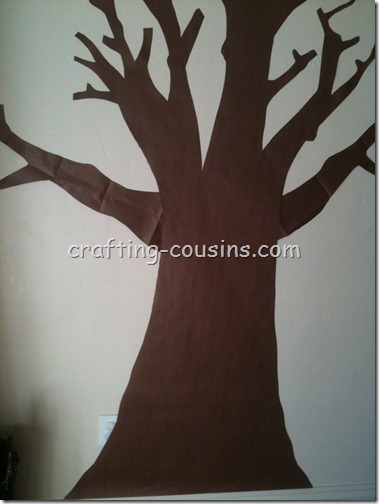
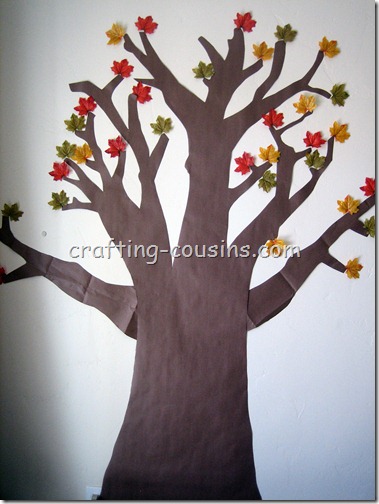
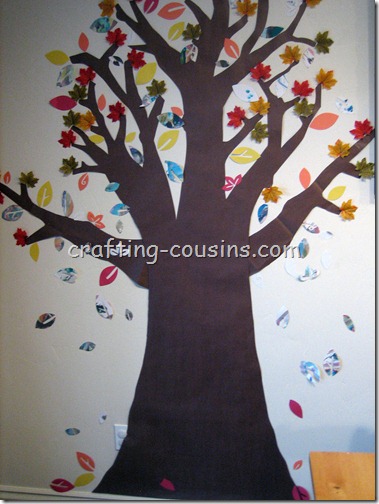
Then, it became a tree on the wall. You can see that I added 2 branches on the side after my kids had already crumbled up the leftover paper.

Fall Tree (1)

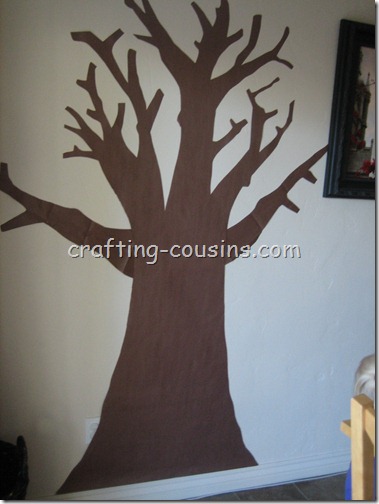
This is a big tree.

Fall Tree (4)

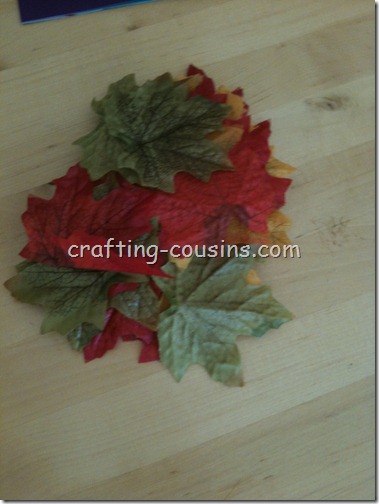
We took the leaves leftover from making my super easy wreath (leaves from the dollar store)

Wreath (2)

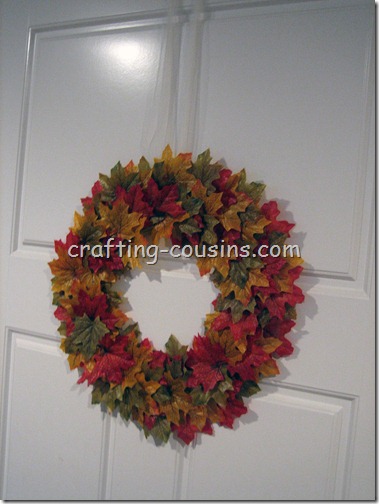
I made this last year, but didn’t think it was worth a tutorial, because it’s leaves hot glued onto a cardboard cut out, and then hung with tulle ribbon. Ridiculous.

Wreath (1)

Just for the perspective, it’s hanging right by my fall “mantle”, and you can even see our family rules hanging there. Okay, back to the tree. We hung the leftover leaves on our tree.

Fall Tree (9)

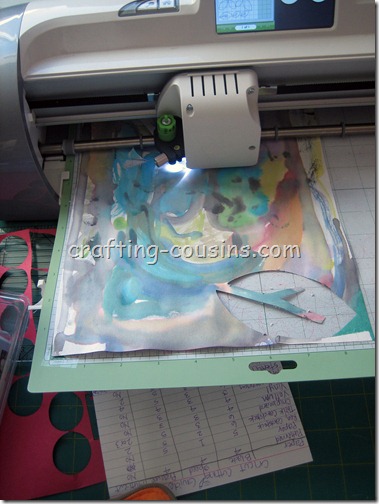
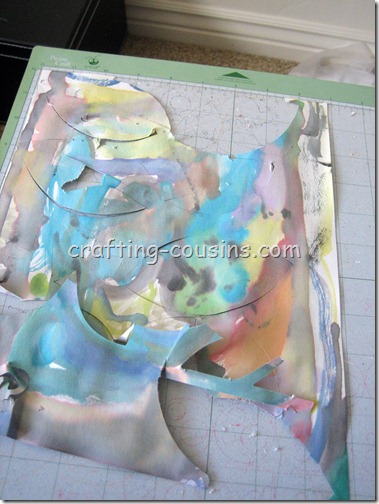
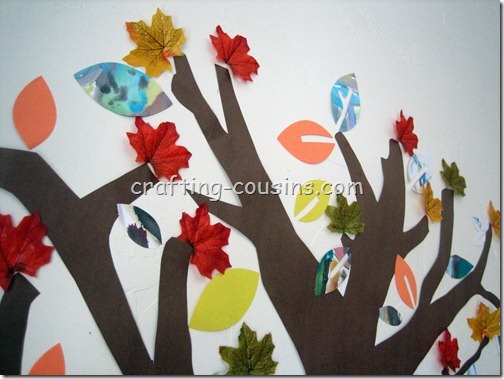
But that’s not nearly enough leaves. So my kids got to do some watercolor. And I cut out leaves with the Cricut.

Fall Tree (7)

Fall Tree (8)

Gotta say, It’s a nice tool and all, but I spent almost as much time fixing the leaves as I did cutting them out on the Cricut. Maybe my blade is already bad? Haven’t used it long. I know the mat isn’t sticky anymore which is silly. I’ve done about 5 projects. *sigh*. More proof I need a Silhouette. Okay, back to our leaves. We hung them up on our tree. I think they turned out really cool.

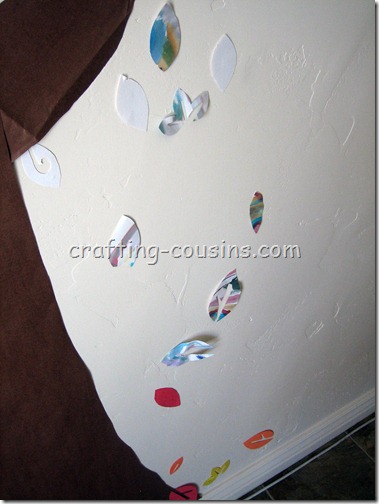
Fall Tree (14)

The kids could reach them falling down onto the ground

Fall Tree (6)

For perspective, this is right by the front/back door to our house. It’s right in the kitchen, so everyone sees it who comes over.

Fall Tree (11)

Bet you didn’t know leaves were blue and purple?

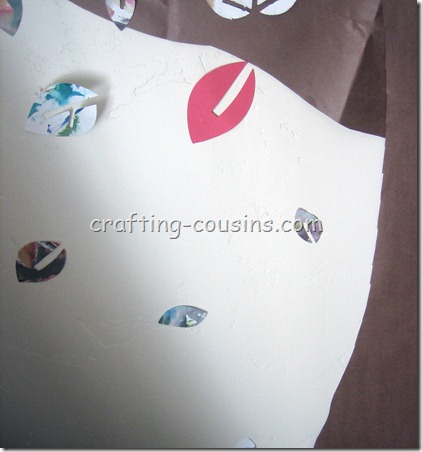
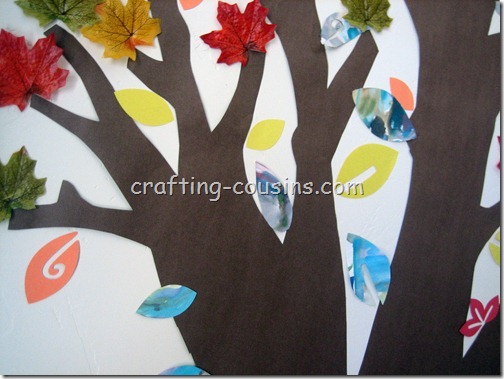
Fall Tree (12)

Fall Tree (13)

Lots of fun shapes and textures on our tree.

Fall Tree

See how big this tree is? I was standing on a chair to put the leaves up. Granted, I’m 5’3”, but still. 6 feet tall about.

Fall Tree (10) copy

It was a very fun craft day with the kids, and they love to show people their leaves. We’ll be using it more, come Halloween and Thanksgiving, don’t you worry about that.

Finally, the last fun fall thing I’ve done to get psyched about fall and cooler weather….

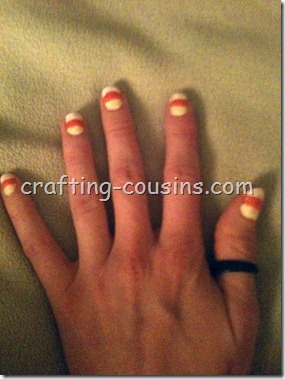
Candy Corn Nails (2)
I took these at night, and the next day did a lot of yard work, so they got all chipped and not pretty, so I apologize about the pictures, but it can’t be helped now!

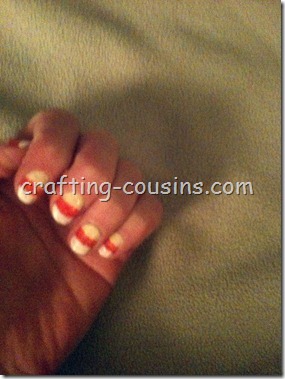
Candy Corn Nails (1)

These are easy, just take some time. Paint a strip of yellow nail polish on the bottom. When that’s dry, add a strip of orange. Then, when that’s dry, add the final strip of white. I did this throughout the day. We were running a lot of errands, so whenever we got home, I hurried and added a strip. I coated the final nail with a clear glitter, so they had a bit of sparkle. I like to keep my nails short, so this is a fun way to still bring in the fall! Have a great day!

Pin It!

Tuesday, September 25, 2012

Frozen Peppers

Yep.  I’m at it again--processing produce from the garden.  ‘Tis the season!  :)

I promise once canning season is over, I’ll get back to all those fun sewing/crafting tutorials.  I’ve got some good ‘uns planned, so stay tuned!

Preparing peppers for the freezer is just the same as the onions.  You can also blanch the peppers, like we did the green beans, but it isn’t necessary.

I love having chopped peppers in the freezer.  It makes it so handy for all those recipes that ask for peppers. 

Ready?

Okay!

Prepare peppers for freezer storage

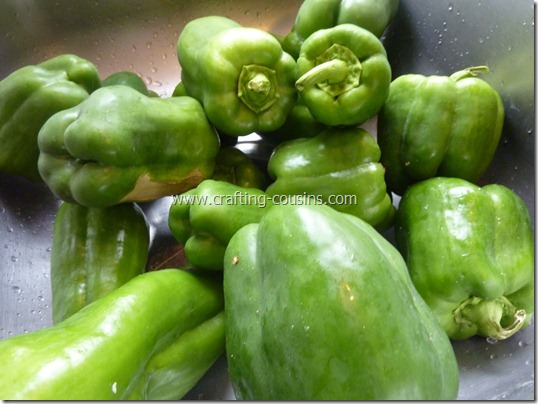
Pick a bunch of peppers from the garden.

Prepare peppers for freezer storage (1)

It can be any kind of pepper. 

Prepare peppers for freezer storage (6)

Wash and dry the peppers.

Prepare peppers for freezer storage (2)

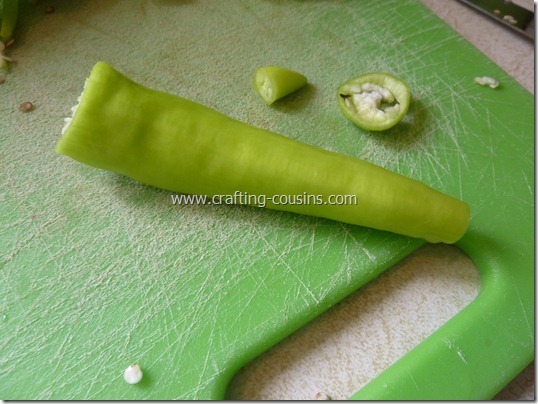
Cut off the tops and bottoms of the peppers.  I don’t think you need to cut the bottoms off of bell peppers, though.  Also, cut off any yucky parts.

Prepare peppers for freezer storage (4)

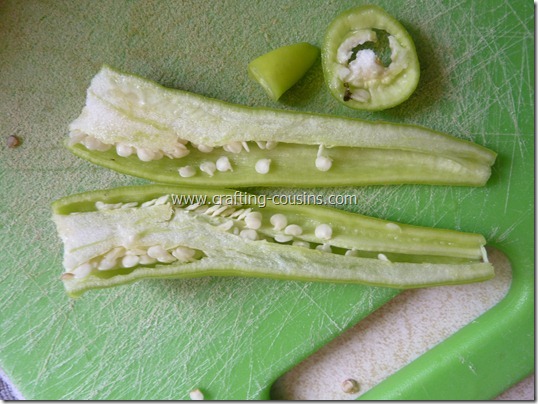
Cut the peppers in half lengthwise.

Prepare peppers for freezer storage (5)

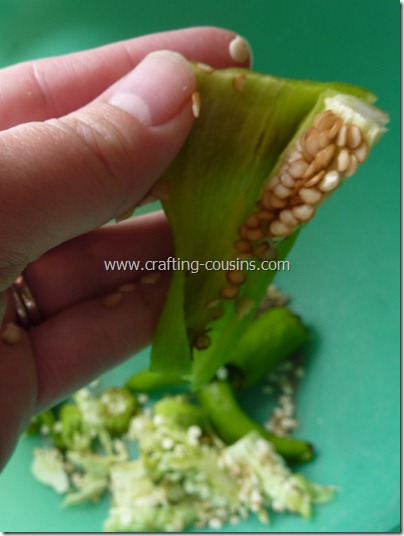
Scrape the seeds out with a spoon.

Prepare peppers for freezer storage (3)

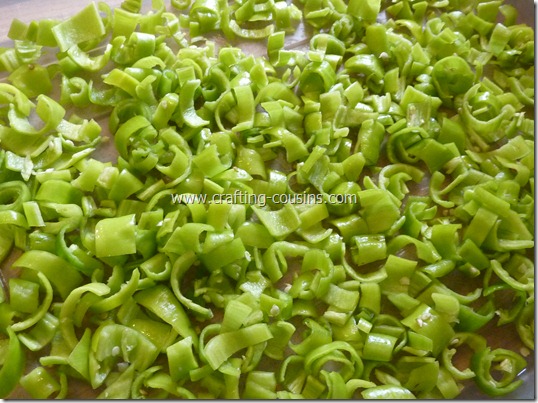
Chop the peppers.

Prepare peppers for freezer storage (7)

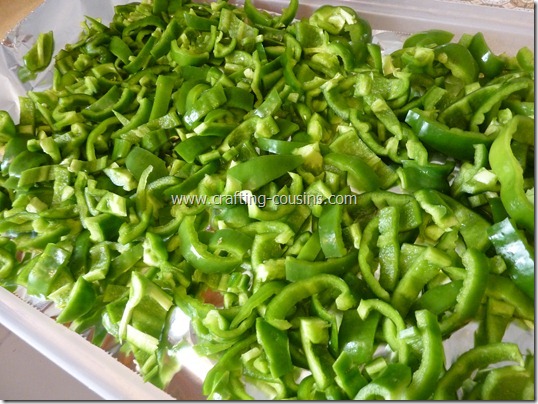
Arrange the peppers in a single layer on a tray.

Prepare peppers for freezer storage (8)

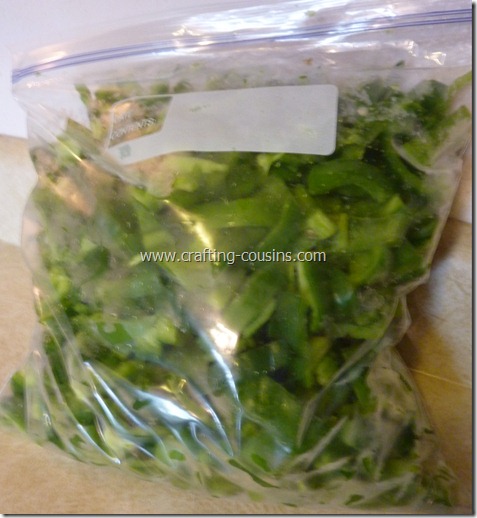
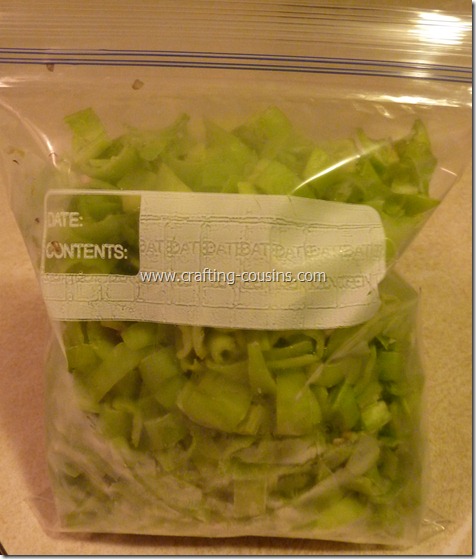
Freeze them for a few hours, then put them in freezer bags.

Prepare peppers for freezer storage (11)

Prepare peppers for freezer storage (16)

Keep the peppers in the freezer and use them as needed.

Doesn’t it feel great to process and store all that wonderful, homegrown goodness from the garden?!  I think so too!  :)

signature nat

Pin It!
Related Posts Plugin for WordPress, Blogger...